• Skip to primary navigation
  • Skip to main content
  • Skip to primary sidebar

Swathy and Sky

  • Health
    • Mental Health
  • Pet Care
  • Books
  • Beauty
  • Shop
  • About Us
  • Instagram
  • Show Search
Hide Search
You are here: Home / Archives for essential oils

essential oils

Mistakes and Improvements in Perfume Making (Part IV) {DIY}

Swathy · February 22, 2012 · 4 Comments

So, last three weeks, I had discussed and elaborated on my efforts on perfume making at home. Today, I wanted to talk about some of my mistakes and shortcomings in the whole process and what I have learned from them.
Profiles of Essential Oils

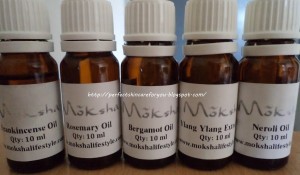
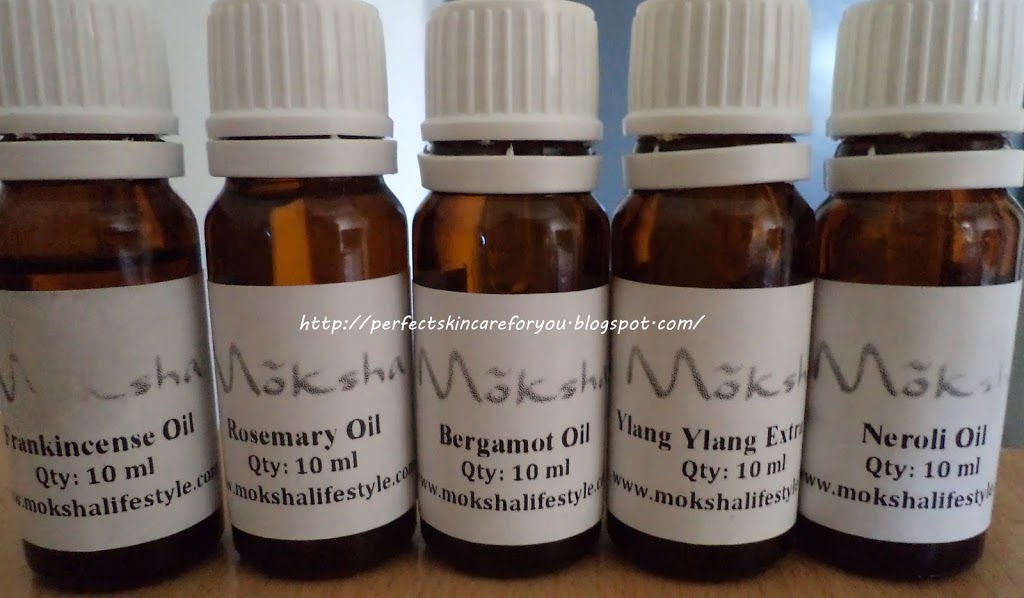
This is a very important point. Whenever you are going to buy EO’s or in fact, going to blend them, always make sure that all the EO’s you are going to use do blend with each other harmoniously. For example, when I decided to buy the first 5 EO’s, I had checked out their profiles very carefully from MountainRoseHerbs.com [go to the Essential Oils and click on Learn More for further information].
I got for myself – Bergamot, Rosemary, Neroli, Ylang Ylang and Frankincense. And, then, I decided to do a blend of all the 5 EO’s together. After I had made the blend, I sensed that something was wrong because nothing was blending well and then, I checked out the profiles once more and found out that Rosemary doesn’t go with any of the others so the blend was fruitless.
So, when you are going to try any new blend, you should definitely keep this in mind.
Ways to try out new blends
EO’s don’t really come cheap so there are a few tips which might help you.
  • If you think about a promising blend, take those EO’s and open their caps and inhale their scents together and see if you find the aroma promising. This is a little of hit and miss so I tried out the next tip.
  • Use cotton ear buds. Fit them in the EO’s nozzle and take out a drop of the EO. Put it in a small glass tub. Do the same with all the EO’s you want in your blend. Use separate buds for each EO. You can also cut the buds in the middle. Keep all the buds in the glass jar and keep it inaΒ  dark place for 48 hours. Take it out and sniff the aroma. If you like it, you can proceed with the blending.
Either of these methods save the wastage.
Disadvantages of Homemade Perfume Making
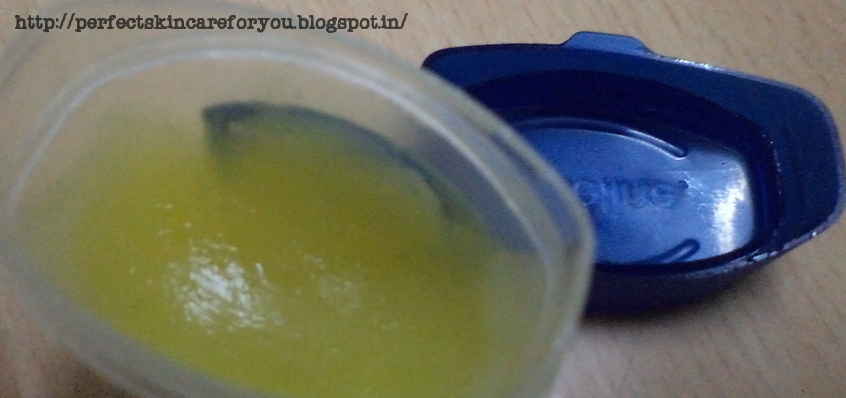
Ok, what I found out was that the longer you keep the blend, the stronger the perfume becomes. But, application of perfume oil is really difficult. You either need a dabber or a roll-on otherwise the oil doesn’t get applied smoothly. So, always think about packaging before hand. Same problem went with the solid perfume too. The applicators are easy to apply otherwise you have to use the fingers to apply.
Another issue which I faced was how long the perfume stays on me. And, this is quite a concern. And, I really need to work on making my perfume oils stay long enough. As of now, I am not really happy with it because a lot of factors affect this. But, still I do want to keep the perfume oil on my skin for entire day or at least half a day and I am not yet sure how far have I come in this endeavor.
So, this finishes my DIY series on perfume making. I shall keep updating whenever I find something significant to report. And, hope you liked the series and it has intrigued you enough to try out this interesting DIY for yourself πŸ™‚Previous Posts in the series:
How to make Perfume Oil at home? (Part I)
How to make Perfume Oil at home? (Part II)
How to make Solid Perfume at home? (Part III)

How to make Solid Perfume at home? (Part III) {DIY}

Swathy · February 15, 2012 · 7 Comments

So, last two weeks I mentioned a little about background in perfume making and how I went about making my first blend. Today, I wanna talk about making solid perfumes.

Ingredients

  • Essential Oil blend (I used the one I talked about last week)
  • Vaseline / Beeswax (I used vaseline so I shall outline that)
  • Almond Oil / Jojoba Oil
  • Glass Jar / small tin box
Method
  • Melt vaseline till it becomes completely clear. Same goes with beeswax. Use a double boiler for safety.
  • Take a tablespoon of the melted vaseline and pour it into the glass jar or tin box.
  • Add a tablespoon of almond oil.
  • Follow with a tablespoon of Essential Oil blend.
  • Let the mixture cool and your solid perfume is ready!!!
The idea here is to divide the vaseline / beeswax, almond oil and the essential oil blend into the ratio of 1:1:1 depending on the amount of the perfume you want. But, from personal experience, a single table spoon of each would last really long. So, try out smaller batches only.Which is better – Perfume Oil or Solid Perfume? Many factors decide this answer.
– Ease of Application
– Strength of Perfume
– Duration of Stay

Solid Perfume is easy to apply but Perfume Oil is more strong (probably). How long does solid perfume stay really depends on your own body chemistry. So, you can try both and choose one which suits you the most.

How to make Perfume Oil at home? (Part II) {DIY}

Swathy · February 8, 2012 · 11 Comments

So, last time I talked about a little background information necessary to know when going to make perfumes. Today, I shall be talking about how to make a perfume and how to blend the essential oils.
Process of making a Perfume Oil
Ingredients
  1. Essential Oils (your favorites)
  2. Droppers for each
  3. Dark amber bottles
  4. Journal / Book
Method
  1. Mix the base, middle and top notes in your own desired ratio by putting some drops of each in the dark bottle. Use separate eye droppers for each EO. Very Important: Write down your recipe. This is called an Essential Oil blend. You can use it in making your lotions or massage oils or body oils too. But, don’t forget to follow the guidelines to use EO’s.
  2. When you are going to mix a recipe, always make sure that your EO’s blend well with each other otherwise your whole blend will get spoiled.
  3. Do not shake the bottle to mix the EO’s. Roll the bottle gently between your palms, instead.
  4. Leave this blend in a dark and warm place undisturbed for 48 hours. That gives the EO’s time to ‘marry’ each other and either enhance each other’s fragrance or degrade each other’s fragrance depending on the EO’s you have used.
  5. After 48 hours, take the bottle and open the cap. Let the fragrance rise from the bottle and sniff it. Write down your observations and notes on the fragrance. If you do not like it at all or if they are not blending together, you might want to add another EO which can allow the different fragrances to blend. It’s a lot of fun doing it and it’s just like an experiment which might pass or fail.
  6. Do all hit and trials and always remember to keep a record of whatever you are doing including the dates too – date on which you made the blend, the date of observations and even the date on which you are happy with the blend.
  7. Now, once you are happy with the blend you are going to make, you can make it in large quantities and store it for a month or two to let the blend ‘cure’. The fragrance of the blend changes overtime so you should keep on observing the changes for a month at least.
  8. After the curing period is over, the EO blend is added to the carrier oil (almond or jojoba oil or even coconut oil) in a ratio of 15-30% depending on the strength of the perfume you want.
  9. And, leave the oils to blend again for at least a week. And, after the period, your perfume oil is ready!!!
So, those are the steps to make the perfume oil. Now, I am going to talk a bit about my own experience.
What did I do?
  • When you are going to create an EO blend, always remember to take the EO’s which blend with each other. So, reading the profiles of each EO is very essential. I consulted MountainRoseHerbs (google it) database mostly. They mention everything pertaining to the EO information.
  • Also, I want to mention beforehand that many EO’s are concentrated and have their own side-effects so read the information carefully before buying them. For example, almost all the citrus EO’s like Bergamot, lemongrass, etc. are phototoxic, many EO’s specially spice ones like connamon, cloves, etc. are irritating to the skin, not all EO’s should be used during pregnancy.

So, I chose 5 EO’s which I bought keeping in mind everything –

  1. Bergamot (the top note which is probably phototoxic but I am not sure entirely),
  2. Rosemary (middle note and should not be used during pregnancy),
  3. Neroli (middle note which is floral and exotic and is safe to use anytime),
  4. Ylang Ylang (base and middle note, should not be used during pregnancy and gives headaches too if used in excess) and
  5. Frankincense (base note, entirely safe to be used anytime)
  • After you have your stock, you should take each EO and sniff its aroma and write your own observations on each. For example, Neroli is a very strong scent and generally overpowers everything but its lovely. So, I took notes about each EO. That also gives me a general idea about how I should go on blending it depending on what kind of fragrance do I want.
My First Blend
  • Frankincense – 10 drops (base)
  • Neroli – 10 drops (middle)
  • Ylang Ylang – 15 drops (bridge)
  • Bergamot – 10 drops (top)
Always add the base notes first, then the middle and then the top notes. I kept the fragrance for 24 hours (because I was impatient, don’t be!!) and didn’t really like it so I added 15 drops of Ylang Ylang again!! Don’t make that mistake. Excess of Ylang Ylang gives headaches but strictly speaking, I love the fragrance of Ylang Ylang but I am growing fond of Neroli now. I kept the blend for 15 days around and added it to almond oil in the ratio of 1:3 (again a mistake!!) [add 45 drops of almond oil in a dark bottle and then, add 15 drops of the EO blend] and kept it for a day or two before using (need it to keep it for a week). But, I loved the blend a lot. It was dominated by Neroli though. And, what I learned from this was that keep the strong fragrances concentration less if you don’t want them to dominate.
So, that was the story of my first attempt at perfume making. And, seriously, it’s addictive, especially when you can get all kinds of EO’s!!! Next week, I shall follow up with more of the blends and some other lessons I learned.
  • « Go to Previous Page
  • Page 1
  • Interim pages omitted …
  • Page 5
  • Page 6
  • Page 7
  • Page 8
  • Page 9
  • Page 10
  • Go to Next Page »

Primary Sidebar

Product Reviews

healthy skin with vitamin c

Role of Collagen in Anti-Aging Skin Care

Mother Sparsh Plant Powered Ultra-Rich Face Wash

2 Best Face Wash for Combination Skin Available in India Under Rs 500 – 2024

The Body Shop Hemp Range - Lip protector, Hand Cream and Foot Protector

The Body Shop Hemp Range Review – Hemp Lip Balm, Hemp Hand Cream and Hemp Foot Cream

Skin Care

skin care, dehydrated skin, skin is dehydrated

3 Potent Signs Your Skin is Dehydrated

5 Practical Winter Skin and Hair Care Tips for this Autumn and Winter

antioxidants list

What are Free Radicals?

Hair Care

Mother Sparsh 30 Herbs Oil

Why switching to an Ayurvedic Hair Oil is a good choice for you?

pantene intense rescue shots product review

Pantene Intense Rescue Shots

My Hair Diary – May 2019

Health

dog sniffing flowers, therapy, mental health

What do You Do for Yourself Everyday?

tree

The Evil Eye is Real.

how your house is making you sick, allergens, house allergies, dust mites, cold, cough, flu, house wellness, mold, mildew, humidity

6 Shocking Ways Your House is Making You Sick

Sky’s Says

Life with my Reactive Dog – February 2024

reactive dog, dog reactivity, outdoor exposure, socialization

Life with my Reactive Dog – January 2024

dehydrated treats, bite me treats and more, house of canis, ghar ka maal, dog treats

Favorite Single-Ingredient Dehydrated Treats

Book Reviews

tenth avatar, dr. kanchan joshi, book review

The Book Corner Vol. 10 – Tenth Avatar by Dr. Kanchan Joshi

agniputr by vadhan

The Book Corner Vol. 9 – “Agniputr” by Vadhan

georgette heyer books, these old shades, devil's cub, the nonesuch, sylvester, frederics, grand sophy

The Book Corner Vol. 8 – 5 of my favourite Georgette Heyer Books

Copyright © 2025 - swathyandsky.com